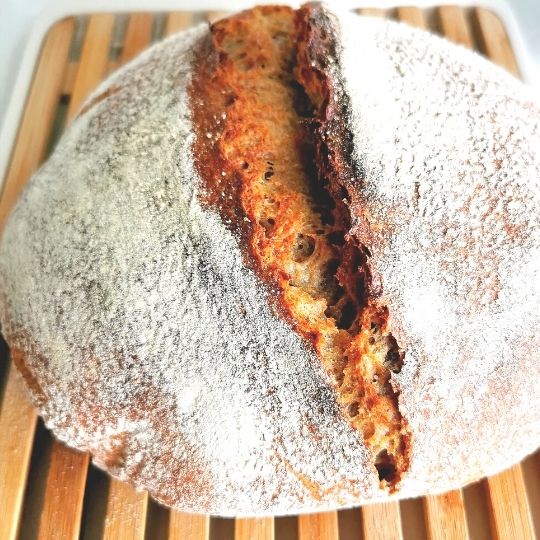
Do the words “sourdough bread” conjure a yearning for crusty, rustic loaves with yeasty, tangy aromas?
This is my baking schedule, as I work from home I can fit it around my breaks or you can bake in the weekend using this schedule. Initially, it is really good to take the time and enjoy the process and develop your skills so baking becomes easier for when you have a tighter schedule. You could fit it around a workday as well, you would just need to change the timing/schedule.
Health Benefits of Sourdough
Sourdough bread is better for digestion than other types of bread. It is made with a sourdough starter, which is a fermented mix of flour, water, and natural yeasts that help the bread rise. It is more digestible than regular bread because the fermentation process breaks down gluten which can cause bloating and other digestive problems. The lactic acid in sourdough bread helps your body to absorb more of the nutrients from sourdough bread than you would from regular white or wheat bread.
What is sourdough bread?
Traditional sourdough bread recipes contain four simple ingredients. To make it, you need salt, flour, water, and a sourdough starter. There is no need for instant or fresh yeast, milk, oils, eggs, or sweeteners.
Sourdough starter
Sourdough starter is a fermented mix of flour and water that contains colonies of bacteria and yeast. The yeasts in the starter are varying strains of Saccharomyces, which are wild relatives of yeast used in commercial preparations. In sourdough bread, the starter acts as the rising agent. The yeast uses the carbohydrates from flour to produce ethanol and carbon dioxide. The carbon dioxide becomes trapped in the bread dough, which makes it rise. It’s this process that imparts the characteristic tangy or sour flavour that gives sourdough its name.
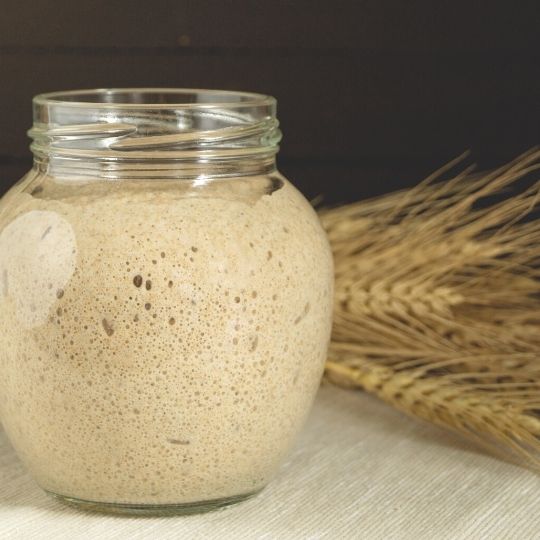
Learn how to make Sourdough Start
Have you ever heard of phytic acid?
Basically, it’s an antinutrient found in grains, beans, and nuts that interferes with the absorption of certain nutrients. They are present on grains to keep them from spoiling.
There is a reason they are there, but we now have good evidence that our bodies weren’t meant to handle them. Proper preparation of grains eliminates most, if not all, of the phytic acid in offending foods.
Traditional cultures soaked and fermented their grains, seeds, and beans. Due to our fast past world, we have lost that art and we now have found that lots of people can’t handle grains anymore. Sourdough is an easy and great way to improve you and your family’s health. So instead of buying supermarket bread or using instant yeast. You can follow on from traditional cultures with a fermented starter that has captured the yeasts in the environment.
Sourdough bread is healthier than regular bread.
Although sourdough bread may not seem that different from regular bread, the fermentation process that the sourdough starter goes through introduces a whole slew of nutritional benefits.
Here’s the why…
Our body absorbs more nutrients from sourdough bread. Bread of all types contains essential minerals such as calcium, magnesium, and iron. However, we can’t easily absorb these nutrients due to compounds called phytates, or phytic acid, that bind to them. But sourdough, unlike other breads, contains lactic acid. This lactic acid neutralizes levels of phytates because it lowers the pH of the bread. As a result, sourdough bread has a higher level of available minerals and up to 62% less phytic acid than conventional bread.
It is all about going back to basics…
Sourdough Bread Recipe for 2 loaves
- 1000 grams Flour unbleached (can use a mixture of white with wholemeal, spelt or rye)
- 75 – 80 % hydration – 750 – 800 grams of water
- 15% – 150 grams of sourdough starter (I often use 200 grams)
- 2% – 20 grams of salt
Sourdough Bread for 1 loaf
- 500 grams unbleached organic white flour (or 300 white + 200 rye or 100 white, 200 wholemeal spelt and 200 rye)
- 375 grams warm water (this is based on 75 % not 80% hydration when you use less water it is easier to handle the dough)
- 75 grams sourdough starter (I often use 100 grams)
- 10 grams salt
Sourdough Starter
I feed my starter at around 11:30 am each day. The day I am making bread I take out the starter I need for the bread at the Add Starter and Salt to the Dough and then I do the feeding procedure ~ Sourdough Starter ~ Feeding instructions
Tip
Keep your sourdough discard in the fridge ~ Instead of throwing your discard away after feeding your sourdough starter, add it to a jar until you have enough to make a sourdough discard recipe!
Sourdough bread – Step by step Instructions To make 1 loaf
(The timing in this recipe is based on a room temperature of 19 – 22 °C)
11:30 am Autolyse
Mix flour and water together to form a shaggy mass. Cover and let sit for 30 – 45 mins in a warm place.
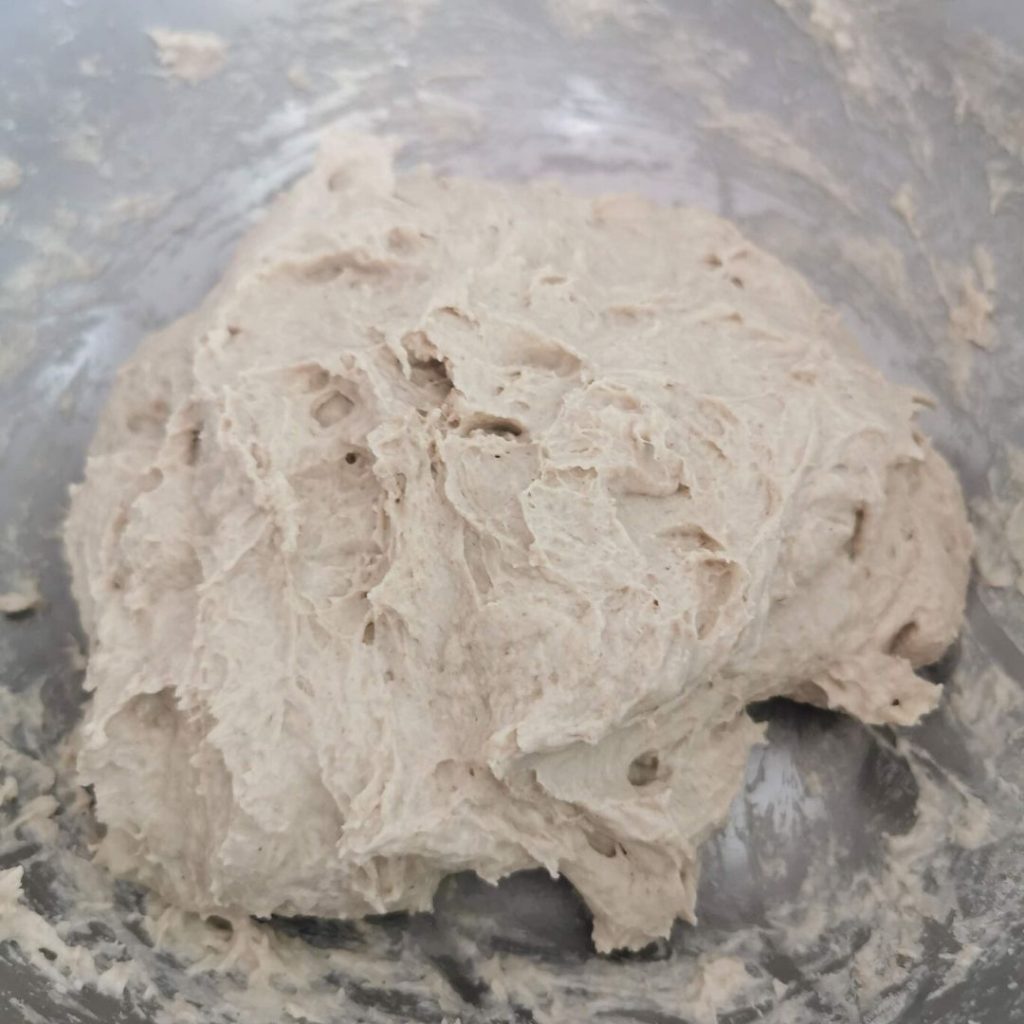
12:30 pm Add Starter and Salt to the Dough
Before you feed the starter for the day add the starter (straight from your jar in the cupboard) and salt into the dough by squeezing the mixture, finish with the stretch and fold technique.
1:00 – 3:00 pm Stretch and Fold
Perform a stretch and fold around every 30 minutes for the next 2 hours until you feel the dough has developed a nice gluten structure.
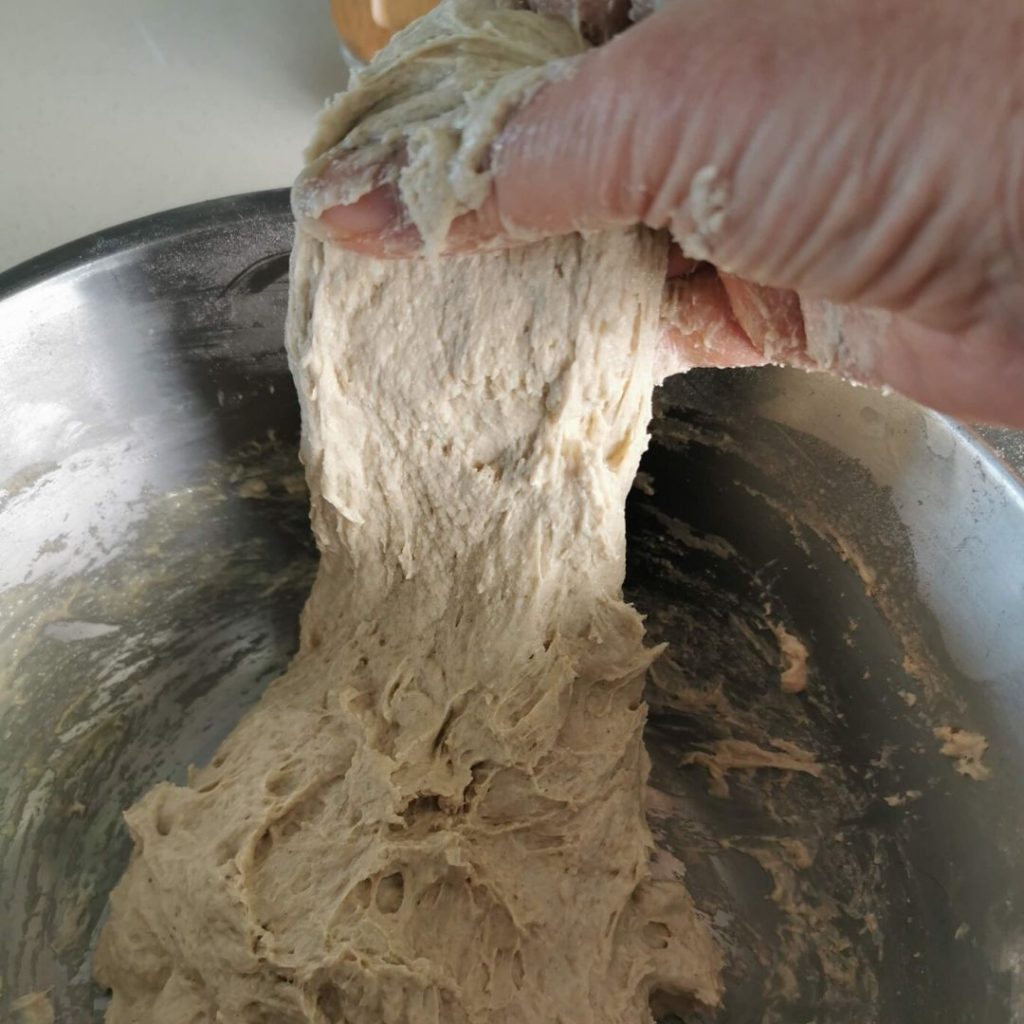
3:00 – 7:30 pm Bulk Rise
Let the dough sit for 4 to 6 until it has risen by 30% – I do not worry too much about the % it has risen as long as I have left it bulk raise for a minimum of 4 hours it works (this process depends on the room temperature, but use your intuition and just give it a go!)
Note: Depending on room temp, the bulk rise could take 4-6 hours, you can place it in the fridge overnight if it’s taking too long to rise the proper amount)
7:30 pm Pre Shape
Once you are satisfied with your bulk rise, remove the dough onto a floured surface and pre-shape your loaf into a round shape.
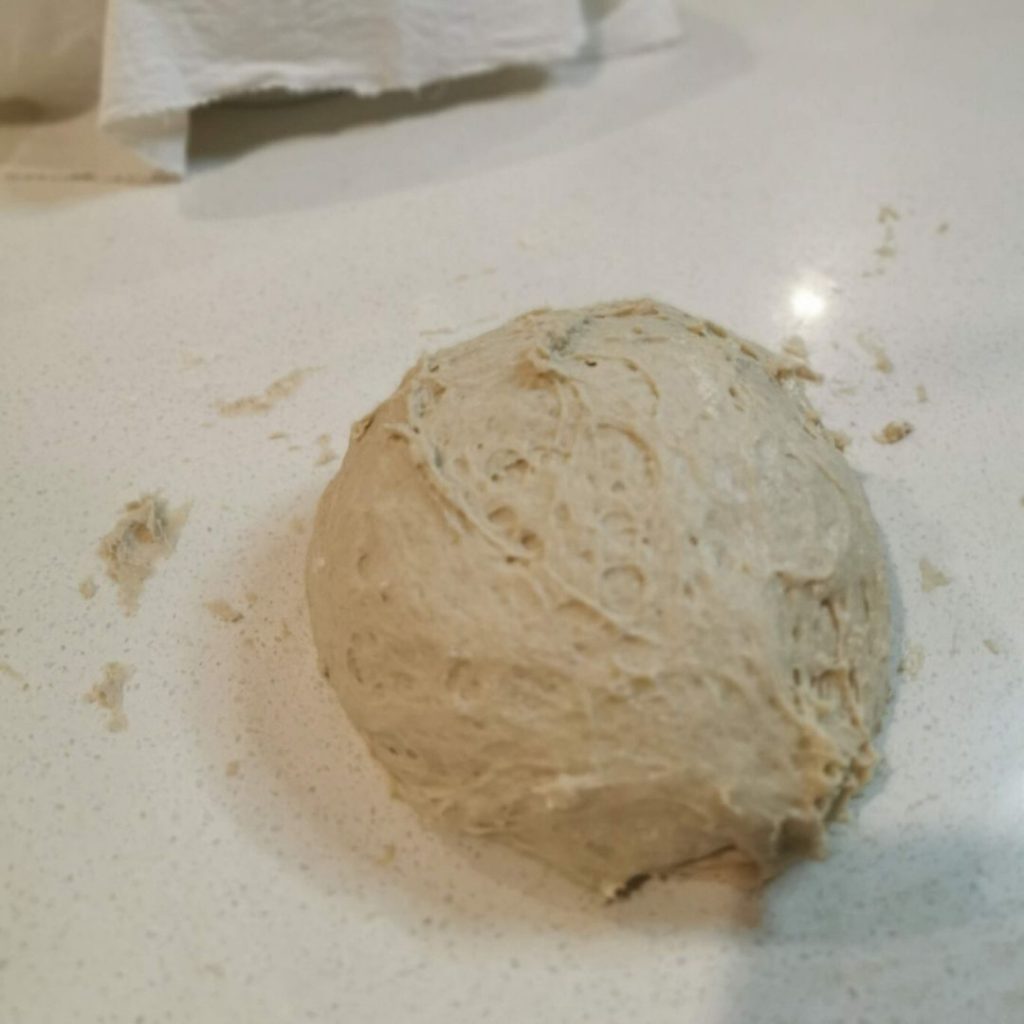
Bench Rest– Let the reshaped loaf bench rest for 30 minutes.
8:00 pm Final Shaping
Give your loaf a final shape and place it in the proofing basket. I use a salad bowl lined with a well-floured cotton cloth or teatowel.
8:00 pm – 8:00 am Proofing
Place your proofing basket in a plastic bag (or cover with plastic wrap) and put it in the fridge to proof overnight.
NB: If proofing at room temp, bake immediately after your dough is finished proofing (no fridge time). If proofing in the fridge, you leave it to proof for 12-20 hours before baking.
Baking Bread
8:00 am – Preheat Oven
Place your dutch oven pan in the oven at 260 °C and preheat for at least 45 minutes.
9:00 am- Baking – Remove proofed loaf onto parchment paper, score the top of loaf and place directly into the preheated dutch oven, then bake for 20 minutes with the lid on. Turn the oven down to 230 °C, remove the lid on the dutch oven and continue baking for 20-30 minutes with the lid off.
Let the loaf cool completely before cutting.
Sourdough Bread tips…
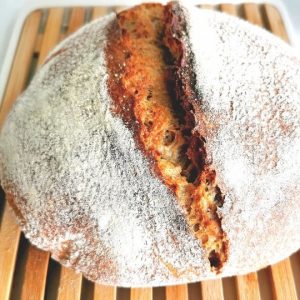
Sourdough loaf – 500g
Ingredients
- 500 grams unbleached organic white flour or 300 white + 200 rye or 100 white, 200 wholemeal spelt and 200 rye
- 375 grams warm water this is based on 75 % not 80% hydration when you use less water it is easier to handle the dough
- 75 grams sourdough starter
- 10 grams salt
Instructions
- Mix flour and water together to form a shaggy mass. Cover and let sit for 45 mins in a warm place.
- Add the starter (use starter straight from your jar in the cupboard, before you feed the starter for the day) and salt into the dough by squeezing the mixture, finish with the stretch and fold technique.
- Perform a stretch and fold around every 30 minutes for the next 2 hours until you feel the dough has developed a nice gluten structure.
- Let the dough sit for 4 to 6 hours until it has risen by 30% – I do not worry too much about the % it has risen as long as I have left it bulk raise for a minimum of 4 hours it works (this process depends on the room temp listed above so use your intuition and just give it a go!)
- Once you are satisfied with your bulk rise, remove the dough onto a floured surface and pre-shape your loaf into a round shape.
- Bench Rest – Let the reshaped loaf bench rest for 30 minutes.
- Give your loaf a final shaping and place it in the proofing basket. I use a salad bowl lined with a well floured cotton cloth or teatowel.
- Place your proofing basket in a plastic bag (or cover with plastic wrap) and put it the fridge to proof overnight. When proofing in the fridge, you can leave it in there for 12-20 hours until baking.
Baking the Bread
- Place your dutch oven pan in the oven at 260 °C and preheat for at least 45 minutes.
- Remove proofed loaf onto parchment paper, score top of loaf and place directly into the preheated dutch oven, bake for 20 minutes with the lid on. Turn the oven down to 230 °C, remove the lid on the dutch oven and continue bake for 20-30 minutes with lid off.
- Let the loaf cool completely before cutting.
Can’t wait to try this.